Start Using Trezor Wallet with Confidence via Trezor.io/Start
Cryptocurrency security is more important than ever. Whether you're holding Bitcoin, Ethereum, or any other digital asset, protecting your private keys should be your top priority. That’s where Trezor.io/start comes into play—a simple, secure gateway to set up your Trezor hardware wallet the right way.
In this comprehensive guide, you’ll learn what Trezor.io/start is, why it’s essential, and how to safely begin your crypto security journey with a Trezor device.
🔑 What Is Trezor.io/Start and Why Is It So Important?
Trezor.io/start is the official onboarding page for Trezor hardware wallets, provided by SatoshiLabs. It is your trusted starting point to configure and secure your wallet—especially vital in a landscape filled with phishing sites and fake software.
Trezor’s philosophy is simple: You own your crypto only if you control your private keys. By setting up your wallet at Trezor.io/start, you ensure your setup is safe, authentic, and protected against threats.
📁 What You Need Before Visiting Trezor.io/Start
To begin the process at Trezor.io/start, you’ll need the following:
- A genuine Trezor device: Either Model One or Model T
- A computer (Windows, macOS, or Linux) with USB port
- A stable internet connection
- A pen and paper to write down your recovery seed
- 15 minutes of undistracted time
Once ready, connect your device to your computer via USB and navigate to https://trezor.io/start.
🖥️ Download and Install Trezor Suite for Device Setup
Upon visiting the site, you'll be prompted to download Trezor Suite—the official application that helps you interact with your wallet. It's available for:
- Windows
- MacOS
- Linux
You can also use the browser-based version if you prefer not to install software, though the desktop app is recommended for maximum privacy and features.
Trezor Suite offers:
- Coin management (send, receive, exchange)
- Portfolio monitoring
- Device settings and firmware updates
- Built-in privacy options (like Tor routing)
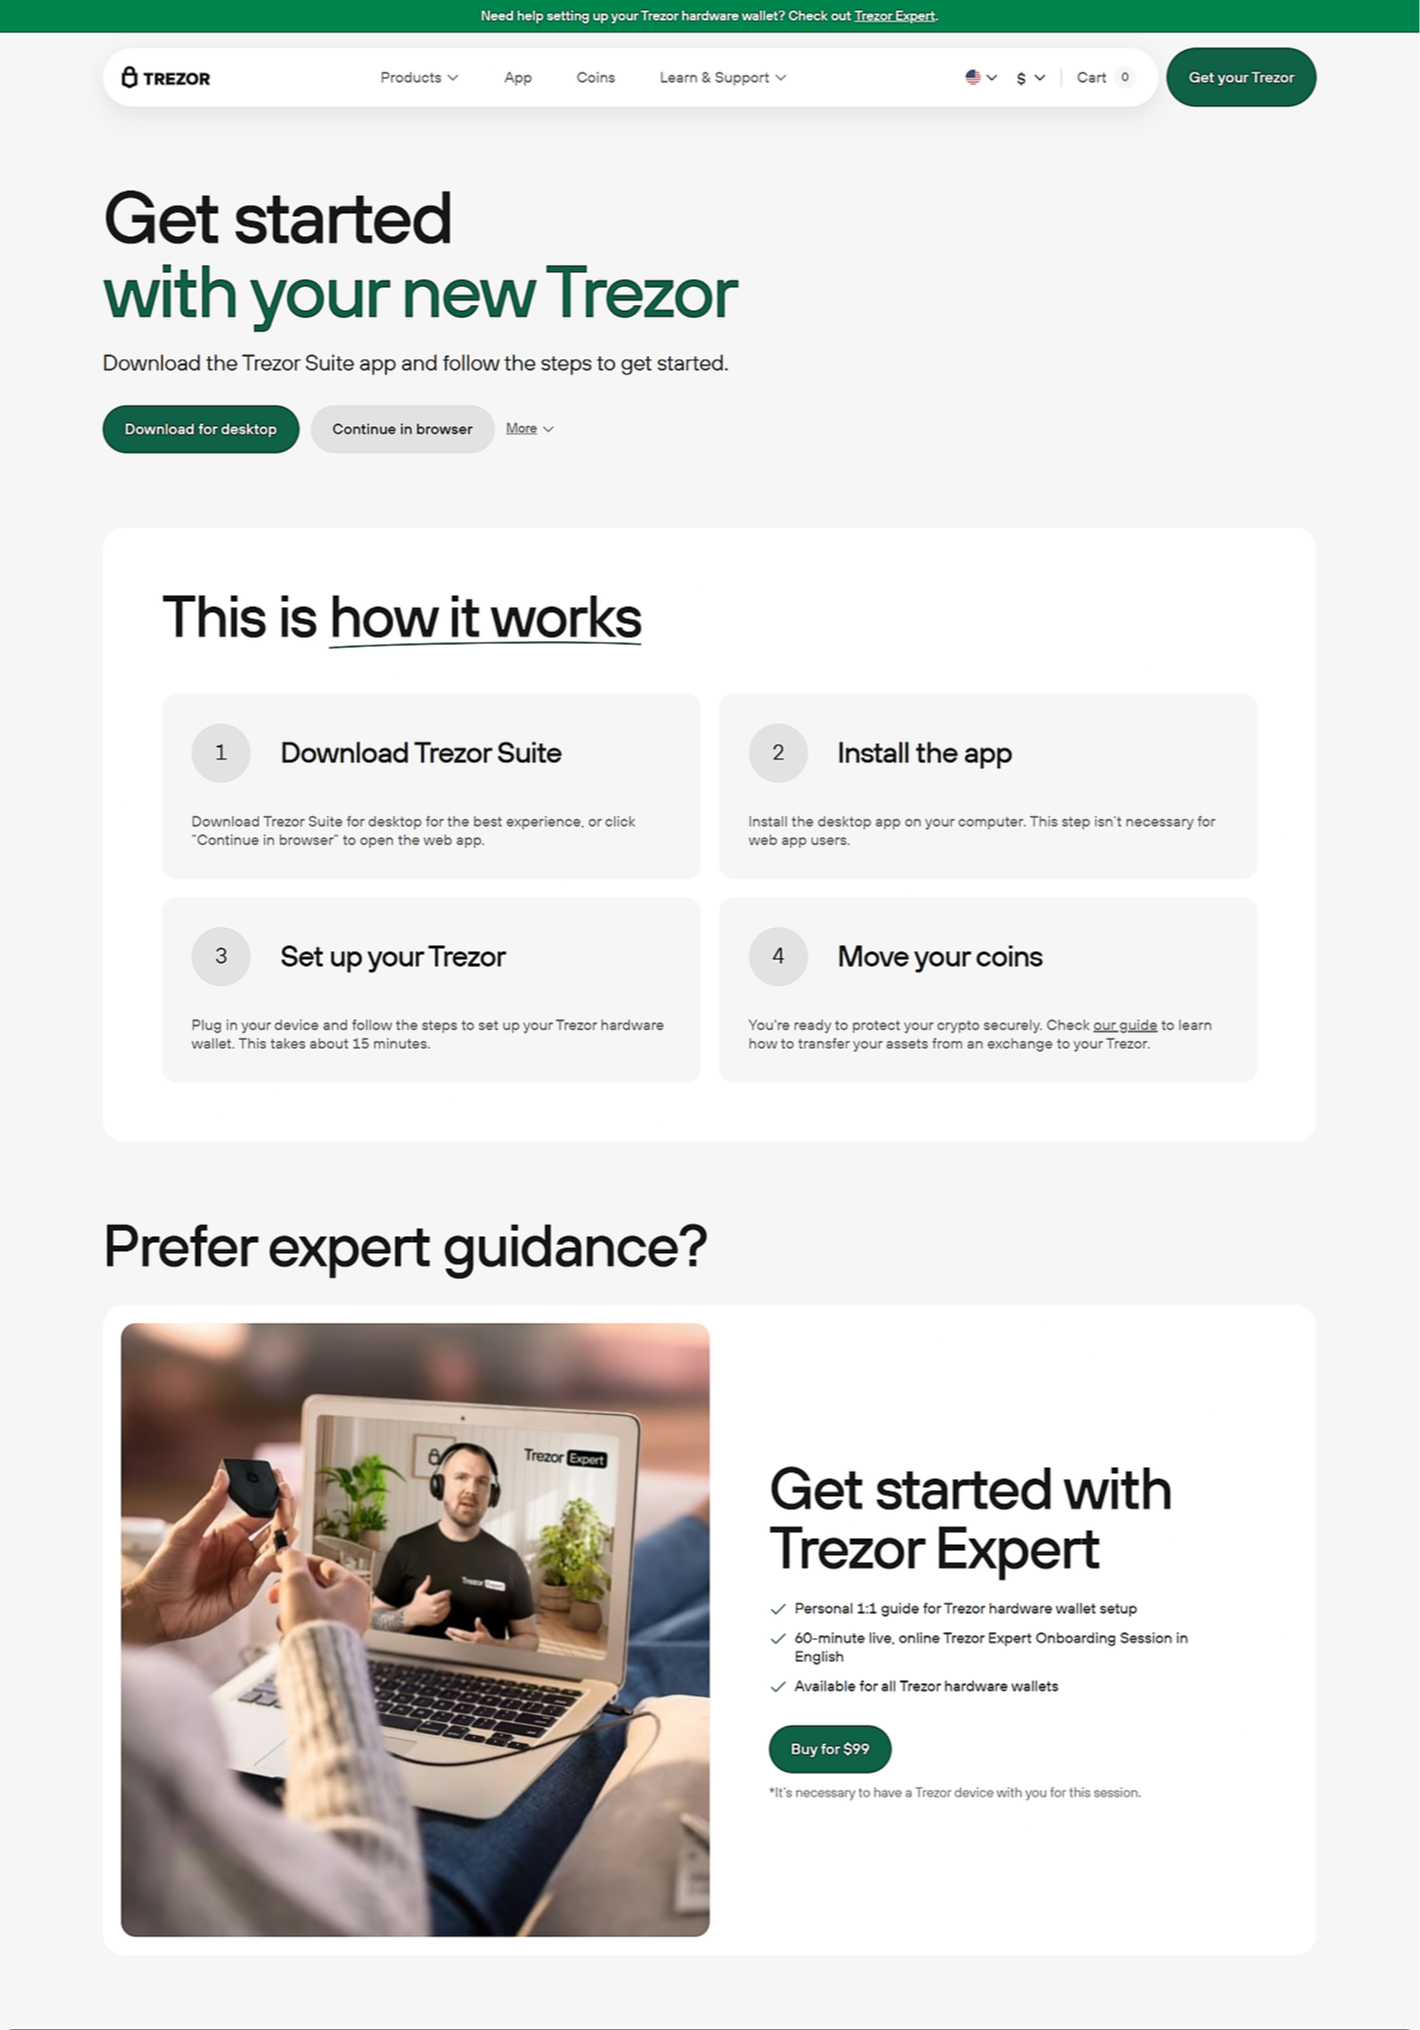
🔐 Step-by-Step Setup Instructions via Trezor.io/Start
Here’s how to initialize your Trezor wallet securely:
- Connect your Trezor to your computer.
- Open Trezor Suite or proceed with the browser setup.
- Install or update firmware if prompted.
- Select “Create a new wallet” (or recover an old one if needed).
- Backup your recovery seed—a 12- or 24-word phrase generated by your device.
- Set a secure PIN code to protect access.
⚠️ Important: Your recovery seed is the only way to recover your funds. Never store it digitally or online. Write it down and store it securely offline.
💡 Tips for a Safe and Effective Setup
When setting up your device via Trezor.io/start, keep these best practices in mind:
- Use a strong PIN (avoid repeating or simple numbers).
- Write your recovery seed on multiple paper backups.
- Consider using a metal backup for fireproof, waterproof protection.
- Never share your seed phrase—not with anyone, not under any circumstances.
- Confirm that your device packaging was sealed and untampered.
💲 Supported Coins and Tokens on Trezor Wallets
Trezor supports an impressive array of cryptocurrencies, from well-known coins to thousands of tokens.
Top supported assets include:
- Bitcoin (BTC)
- Ethereum (ETH)
- Binance Coin (BNB)
- Solana (SOL)
- Cardano (ADA)
- Litecoin (LTC)
- Polkadot (DOT)
- Dogecoin (DOGE)
- USDT, USDC, and other ERC-20 tokens
With integrations through MetaMask, MyEtherWallet, and Exodus, you can manage even more assets securely using your Trezor device.
🧠 Advanced Security Features You Should Activate
Trezor offers several optional—but powerful—features to further enhance your security:
- Passphrase Protection: Adds an extra word to your recovery seed, creating a hidden wallet.
- Shamir Backup (Model T): Split your seed into multiple parts for distributed recovery.
- Tor Integration: Enables anonymous usage through the Tor network.
- Bitcoin-only firmware: For BTC maximalists, it disables all other assets and reduces potential attack vectors.
These features are accessible within Trezor Suite’s settings after completing the initial setup.
🔄 Using Trezor with Third-Party Wallets and DApps
Want to explore the DeFi world, NFTs, or Web3? Trezor can connect with:
- MetaMask: Interact with Ethereum and EVM chains
- Uniswap: Swap ERC-20 tokens securely
- MyEtherWallet (MEW): Manage Ethereum-based assets
- Electrum: For advanced Bitcoin users
- Exodus Wallet: Adds a visual user experience with Trezor’s security
Your private keys never leave the device—even when connecting to external platforms.
💬 Need Help? Trezor.io/Start Offers Trusted Support
Unlike random help forums or phishing sites, Trezor.io/start gives you:
- Secure firmware download links
- In-depth setup tutorials
- Access to the Trezor Help Center
- Verified customer support contact forms
- Links to official Telegram and Reddit communities
Avoid searching for "Trezor support" on Google—scammers often create fake support sites to steal your credentials.
📌 Final Words: Protect Your Crypto the Right Way
By starting your journey at Trezor.io/start, you’re making one of the wisest moves in crypto—taking custody of your assets in a hardware wallet. Trezor empowers you with full control, maximum privacy, and peace of mind.
Made in Typedream